The search for a home for our family has officially ended (knock on wood). It all started in July looking in condos in Eagle Mountain, Saratoga Springs, Provo, Orem, Pleasant Grove, etc. The very first offer we made was in Eagle Mountain back in July and the seller was AWOL so we continued to look on. Three offers later we got accepted!!
Last Wednesday we looked at another condo in Eagle Mountain (same complex as the first offer, just different building) and loved it even more than the first. New paint, new carpet, not a SHORT SALE, and it had only been on the market for 2 days. So we made an offer and the next day we got a call from our awesome realtor that it had been accepted...ALREADY! And after papers signed and checking on FHA loans it is pretty much official that we will be moving sometime next month to a place of our own:)
It is going to be really hard not living close to all our family but it is far enough that we can feel a little more "grown up". I can't believe it is happening and I am soooo proud of my husband for getting us here so much quicker than we thought. We have enjoyed living with my sister in law and brother in law and will most definitely miss having built in friends and babysitters:)
So now I need to start packing and start figuring out how I will be decorating:) Which is probably the best thing about getting a new place!!
Have a wonderful day!
September 22, 2011
September 11, 2011
What I did with my day
Yesterday I got tons done! Made a cute scarf for my mom, repurposed a shirt into a cardigan, made a second fabric pumpkin, and started on my fall wreath. All in 90 minutes. Yeah. I'm THAT good. Anyway here are some pictures of what I did. (oh and before all this I took a drive with Amaree through American Fork canyon to Sundance).


Have a wonderful day!


 |
| Amaree singing the BYU fight song. |


Yes the pumpkin and this scarf are made from the same fabric. I bought a 5 yard bolt of fabric for a $1 at where else? Walmart.
Have a wonderful day!
September 09, 2011
The Yo yo flower
Here is the Yo yo tutorial.
Materials needed:


Have a wonderful day!
Materials needed:
- Fabric
- Matching thread
- Needle
- Button, beads, smaller yo yo to go in the middle
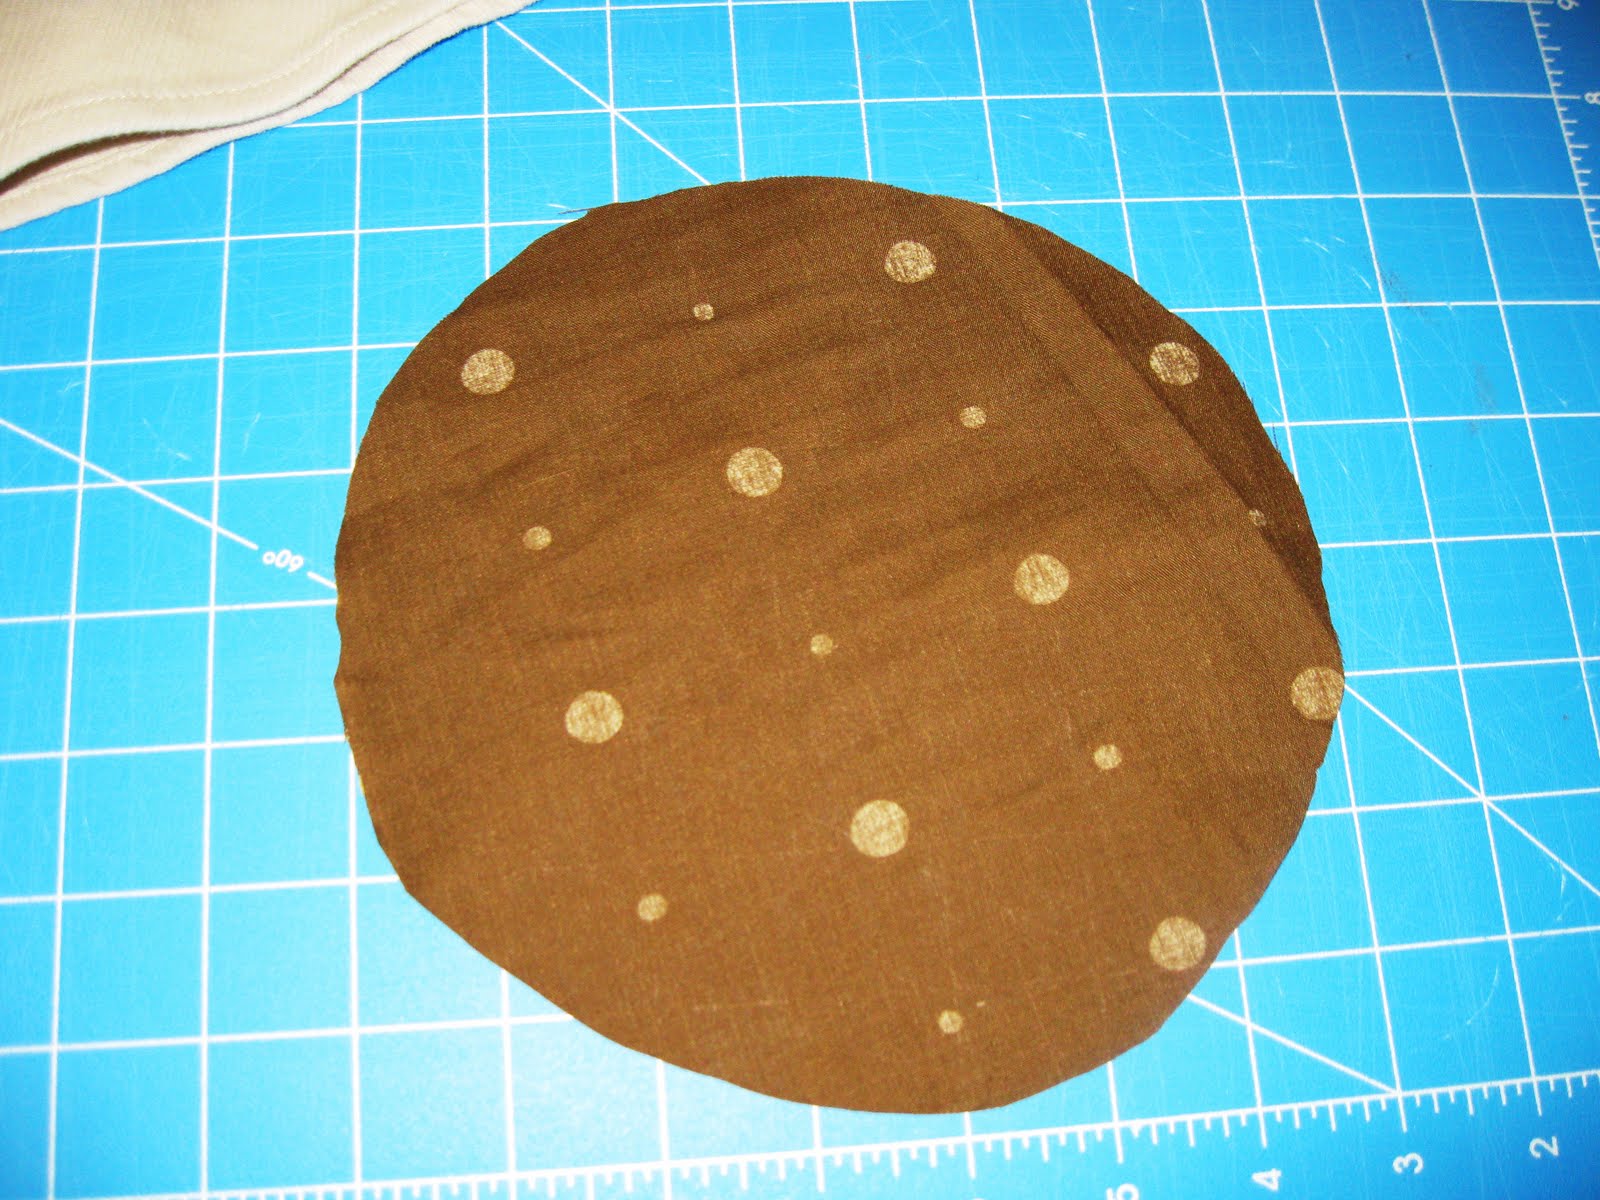
Start by cutting a circle out of your fabric. Keep in mind that your Yo yo will become about a 1/4 of the size of the original circle so make it bigger than you think:)
Take a part of the edge and fold it over about a 1/8 of the way in and begin stitching...like this:

Pull needle through and continue to fold and stitch all the way around.


Until it looks like this:

Now pull the thread tight and bunch the circle until it looks like this:

Now the right side is showing. Push the scrunched part to the middle of the circle and fluff it up a bit.

Secure the stitch on the back. Now you can either snip the thread and hot glue beads or whatever to the middle, leave it alone and put a clip on the back OR you can leave the thread attached and sew it onto a piece of clothing like I did to Amaree's skirt.

After I stitched it, I glued a button on top to give it some pizzazz. I also made a little Yo yo to put on a bobby pin for her hair:)

Now you are done!
Have a wonderful day!
Fall is in the Air
Today totally felt like fall! The cool weather, pulling out my boots and making orange and brown skirts:) Here is what I made for Amaree:


Have a wonderful day!

And here is her showing it off for me.

Too funny not to show:)
The orange fabric is a fat quarter I bought for a $1 at walmart and the brown is from a 5 yard bolt that I got at Walmart for $5. I used more of that fabric to make a cute fabric pumpkin. I got the tutorial from Danielle Thompson on thompsonfamily.typepad.com.

I am going to make at least 4 more in various sizes.:)
Here is more of Amaree and the pumpkin

 |
| Zoned in on Lady and the Tramp. |
Have a wonderful day!
September 08, 2011
How to Make a Little Girl Skirt from a Woman's Skirt.
There are a TON of tutorials on how to do this out there already but I just had to make one myself:) This skirt is one that I got from my mom when I was in junior high. Then about 2 years ago the zipper broke and I kept telling myself that I would learn how to fix a zipper...yeah right. Today I was finally putting away all of my clothes in the closet (after one week of sitting folded in the laundry baskets) and came across this lovely skirt. Amaree already has about 8 skirts in her drawer but I just had to make another one using a dear friend (skirt) to make it.
Materials needed:


Materials needed:
- One women's skirt or shirt
- Elastic
- Matching thread
- Sewing machine:)
- Safety pins (for pulling the elastic through the casing)
Put your skirt on your cutting mat and figure out how long you want the little girl skirt. You can measure your little one but I usually just eye ball it.

Now it's time to cut!


Since the sides are already sewn together all you have to do is sew an elastic casing!
Turn your skirt inside out and figure out how wide your casing needs to be (just a little big wider than your elastic). Now you can fold over that width and pin it in place all the way around or do what I do and just wing it;)

Sew all the way around until the last 1-2 inches and stop. This is your opening for your elastic.
Your elastic length should be 2-3 inches shorter than your child's waist measurement. I did 2 so Amaree had room to grow.
Attach a safety pin to both ends of your elastic.


Now insert one end into the opening like picture above.

Once the pin is in, push it through (it bunches like this) until it won't move. Then, while holding the pin in place with one thumb, pull the fabric the opposite direction with the other so that the elastic catches up with the safety pin.
Continue to do this until the other end of the safety pin reaches the opening. Pin both the elastic and a part of the opening together so you don't accidentally pull your whole elastic through.

Now finish pulling through all the way around the skirt until the first pin comes out of the opening. Pin the two ends of the elastic together (unattach the 2nd pin from the fabric) so you don't lose your elastic.

Your skirt will look something like this if you didn't adjust the skirt while pulling the elastic through the casing.

Lopsided! Ha. So now adjust/pull the fabric around so it evens out and looks like this:

You now need to stitch your elastic ends together. Use your zigzag setting to secure it even better. I sew back and forth about 3 times to make sure it doesn't come undone (trust me...it has happened one too many times!).


Now push the elastic back inside the casing and fold the opening closed and stitch that puppy right up!
Remember to use straight stitch for this. No biggie if you don't:)

Ta da~!
All done:) Well sorta...I wanted to add some embellishment to mine so I added some Yo yo flowers to the bottom, along with a matching bobbie flower.
Tutorial for that coming later.
Yo.
Have a wonderful day!
September 07, 2011
Ruffle Skirt Reference
I completely forgot to add my inspiration to my ruffled skirt I made for myself. It's from alisaburke.blogspot.com
Here is the tutorial:) It looks different because I used jersey instead of muslin for the ruffles. Next time I am going to make it out of cottonish fabric to see how that looks.
Have a wonderful day!
Here is the tutorial:) It looks different because I used jersey instead of muslin for the ruffles. Next time I am going to make it out of cottonish fabric to see how that looks.
Have a wonderful day!
September 06, 2011
I absolutely LOVE fall!
I can't contain it anymore...I have to express my love for this upcoming season. FALL. I love the cool weather (not cold...big difference), the changing leaves, scarves, boots, pumpkins, candy corn, Halloween, Thanksgiving, etc. I am itching to make scarves and fall colored skirts for Amaree and myself. I just need a few days to myself to get them done;) I just joined pinterest and I have been pinning a ton of fall clothes, accessories and DIY Halloween decor. What do you love about fall??
Have a wonderful day!
Have a wonderful day!
September 03, 2011
Another fabric flower:)
Again please disregard the smudge on the pics:) Alright this tutorial is for an "open" ended round flower. (long title) Anyway here it goes!
You can use any kind of fabric for this one. Knit fabrics don't fray on the open ends whereas many other fabrics will. Thicker fabrics will require a bigger hand-sewing needle where thinner fabrics don't. Etc. It just comes down to what you want it to look like! This flower I used leftover muslin from making my temple skirt.


Have a wonderful day!
You can use any kind of fabric for this one. Knit fabrics don't fray on the open ends whereas many other fabrics will. Thicker fabrics will require a bigger hand-sewing needle where thinner fabrics don't. Etc. It just comes down to what you want it to look like! This flower I used leftover muslin from making my temple skirt.
- First cut 5 circles out of your fabric. (all the same size)

- Now take one circle and fold it in half. Instead of basting a stitch on the opened end of the half circle, like in the rounded flower (Here)

Pull the thread so it looks like this:

Continue to do this to all 5 circles.

- Sew the ends petals together. Make sure to secure at the bottom. Or you can always hot glue:)
- You can add a large button, gem, pearls, or a smaller fabric flower in the middle. Then cut a circle of felt and hot glue to the back of the flower and add a brooch pin or alligator clip.

Have a wonderful day!
Pardon the Smudge
Yes I have a bunch of things I would like to post (DIY tutorials in particular). As I was looking through my photos, editing them, I noticed that in everyone of them there is a smudge on the right side of the pic...oh yeah! I forgot that while I was putting away my hot glue gun and scissors (Amaree woke up from her nap earlier than I thought so I didn't have time to put them away before she walked out of her room) Amaree had grabbed my camera and tried to pry open the lens herself. Makes sense why there is a smudge now:) Anyway, I don't want to take the pics again so instead you will just have to pardon the smudge and learn to deal with it.
Alright moving on...this first post I have been waiting to show for a while but I didn't want to show off my "after the temple" outfit prior to our big day. So here is my skirt. I don't have pictures of my whole outfit yet but as soon as I do, I will put em up:)
Have a wonderful day!
Alright moving on...this first post I have been waiting to show for a while but I didn't want to show off my "after the temple" outfit prior to our big day. So here is my skirt. I don't have pictures of my whole outfit yet but as soon as I do, I will put em up:)
 |
| The front... |
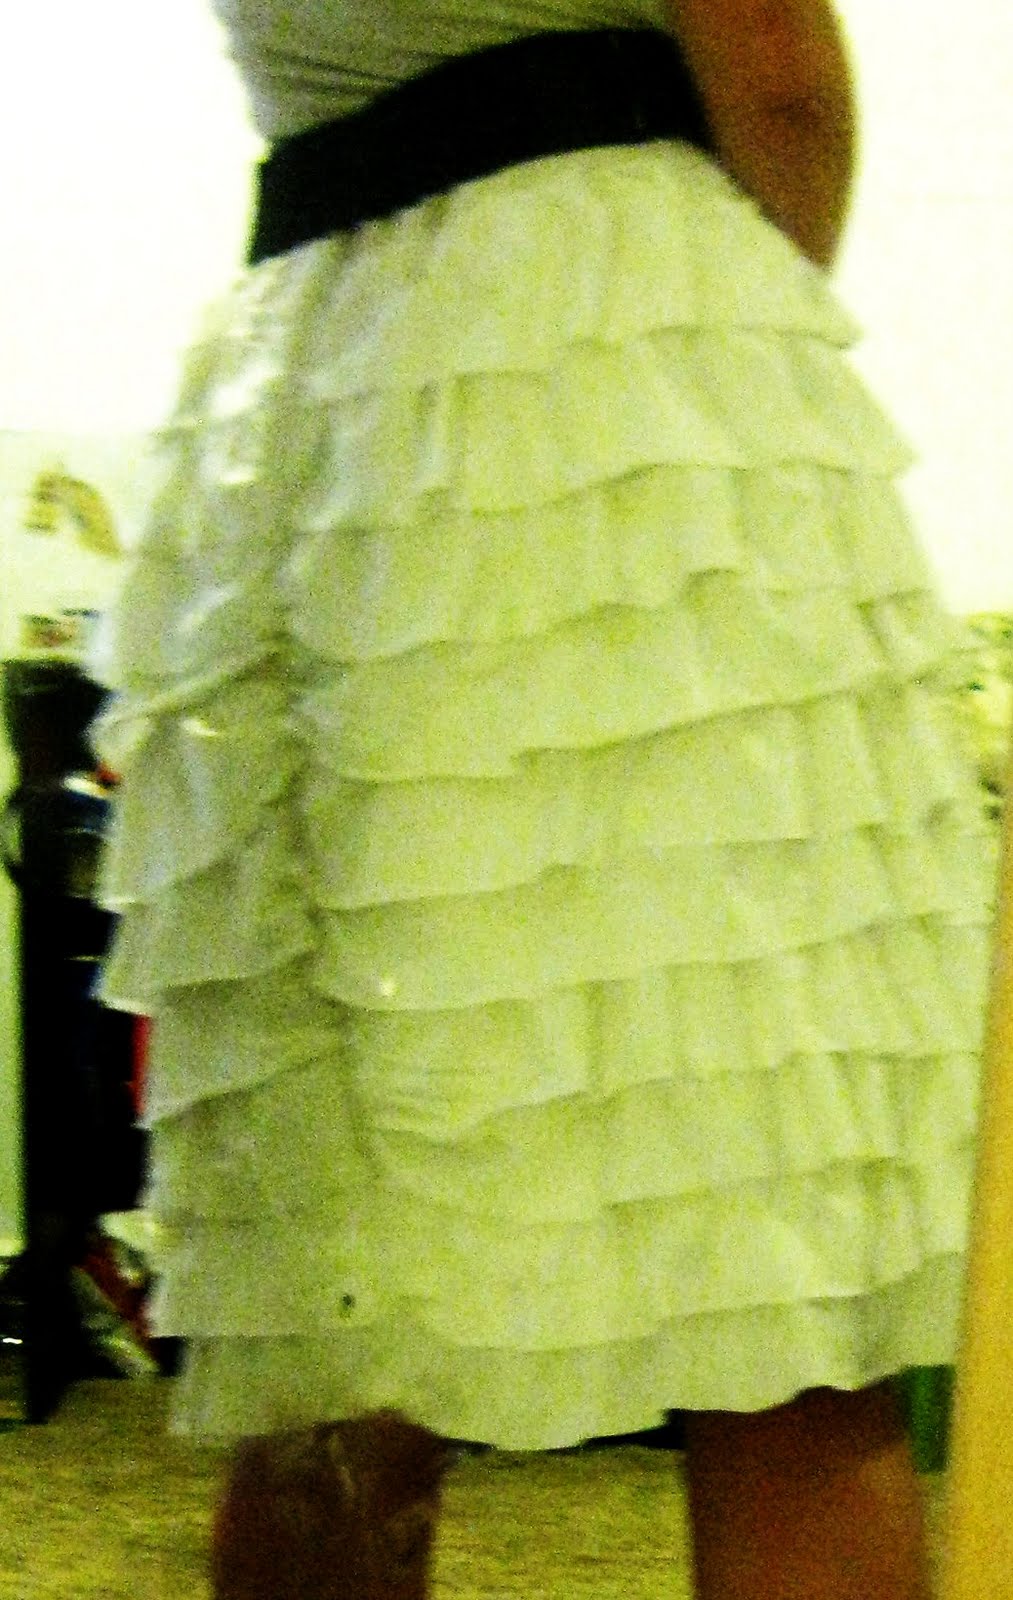 |
| The back. I liked how it bustled up like this. It wasn't a hard skirt to make at all...just very time consuming with all the ruffles. I took it in a few inches before Friday so my butt didn't look so booty-licious. |
Have a wonderful day!
September 02, 2011
We will be Forever starting today...
Today is the most important day of my life. Bryan, Amaree and I will be sealed together for all eternity at the Mt. Timpanogos temple!:) I have been waiting my whole life for this and it is finally here. I am so grateful to have found my eternal companion. I love Bryan and can't wait to be with him forever. I am so happy that our little girl can be sealed with us and also be with us forever. I am so blessed. I am the happiest woman on earth right now:) Thank you all for your love and support of our family. We love you all so very much!:)
Have a wonderful day!
 |
| Families can be together forever! |
Have a wonderful day!
Subscribe to:
Posts (Atom)